August 19, 2026 · 12 min read
Should You Use a Picture Profile for Photography? Camera Settings Explained
On this page
- What Is a Picture Profile in Photography?
- How Picture Profiles Affect JPEG and RAW Files
- When You Should Use a Picture Profile
- When You Should Avoid a Picture Profile
- Choosing the Best Picture Profile for Your Subject
- How to Set Up a Reliable Picture Profile Workflow
- Common Picture Profile Mistakes to Avoid
- Frequently Asked Questions
- Conclusion
Should You Use a Picture Profile for Photography? Camera Settings Explained
Your camera’s Picture Profile, Picture Style, Creative Style, or Film Simulation menu can look deceptively simple: vivid colors, muted tones, black-and-white, landscape, portrait. But should you actually use one for photography—or leave everything neutral and edit later?
The short answer is yes, picture profile photography can be extremely useful, but its importance depends on how you shoot. For JPEG photographers, your chosen profile is a major creative and technical decision. For RAW photographers, it mainly affects previews and starting points rather than permanently changing the original image data.
Understanding that distinction helps you make faster decisions in the field, create more consistent images, and avoid unpleasant surprises when you open files for editing.
Key Takeaways
- Picture profiles permanently shape JPEG output but do not permanently alter the underlying data in RAW files.
- Use a profile that matches your subject, lighting, and intended final look—not simply the most dramatic option.
- Neutral or standard profiles are often best for flexible editing and reliable exposure evaluation.
- Portrait, landscape, monochrome, and film-inspired profiles can streamline delivery when you need polished JPEGs quickly.
- Check how your profile affects contrast, saturation, sharpening, and highlight detail before relying on it for important work.
- If you shoot RAW+JPEG, profiles give you both an editable master file and a ready-to-share version.
What Is a Picture Profile in Photography?
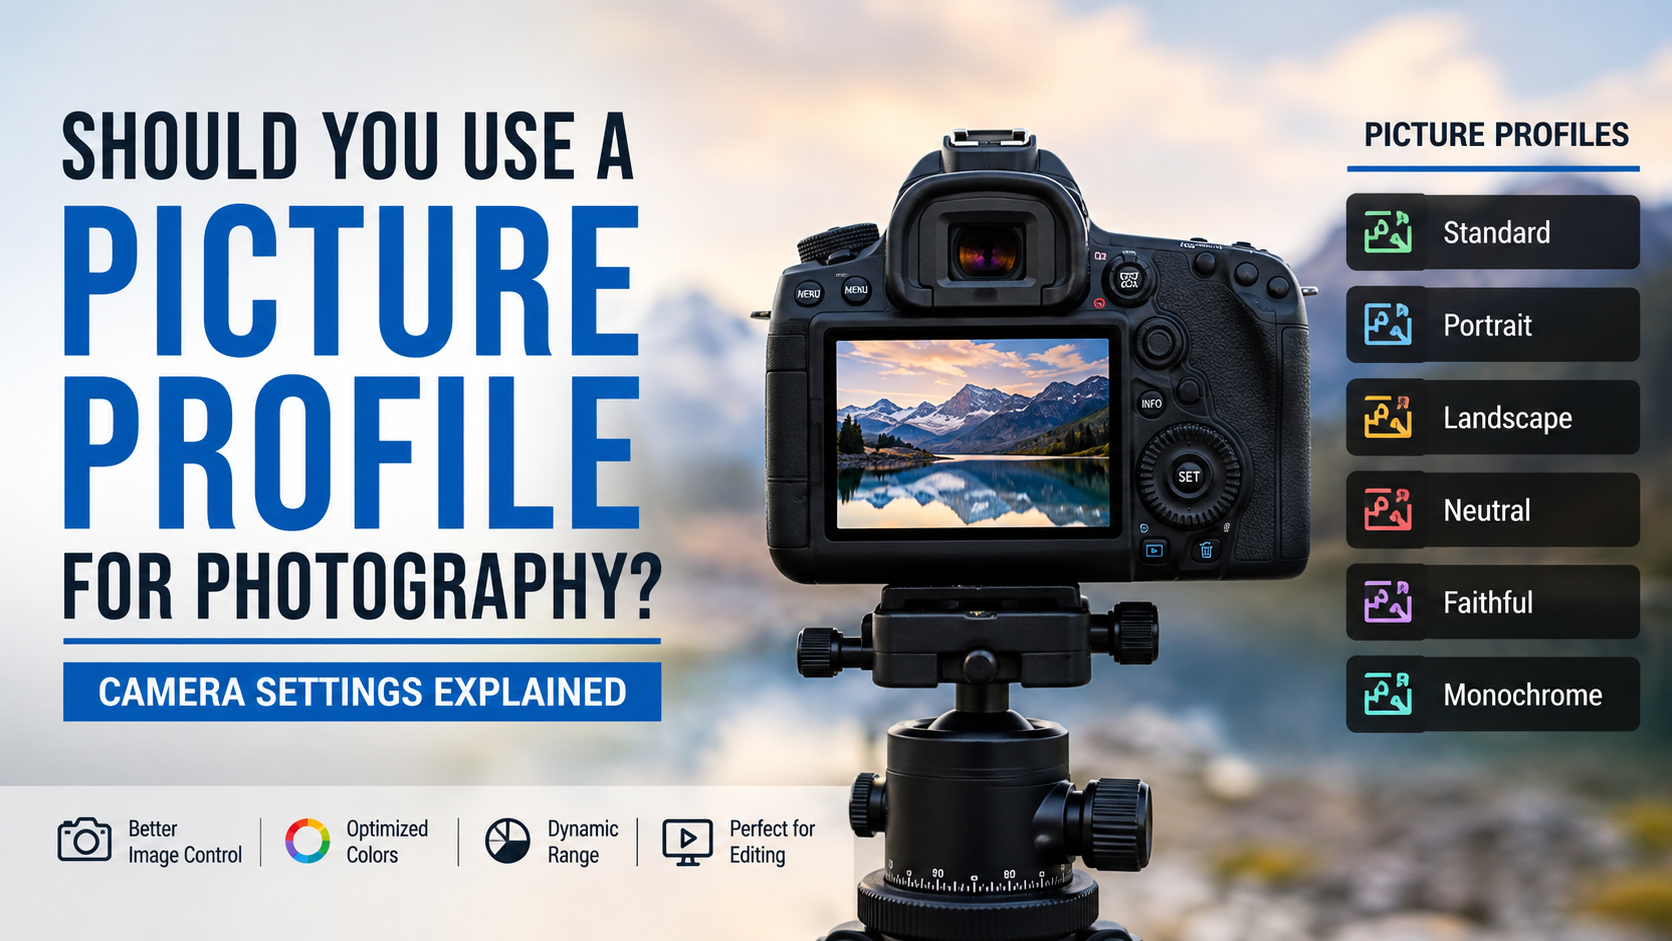
A picture profile is an in-camera recipe that controls the visual rendering of an image. Camera brands use different names for similar settings:
- Sony: Creative Look, Creative Style, or Picture Profile
- Canon: Picture Style
- Nikon: Picture Control
- Fujifilm: Film Simulation
- Panasonic: Photo Style
- OM System: Picture Mode
These settings usually adjust several image characteristics at once.
The Settings a Profile Changes
A picture profile can influence:
- Contrast
- Saturation
- Color tone or hue
- Sharpening
- Noise reduction
- Dynamic-range processing
- Black-and-white rendering
- Skin-tone treatment
For example, a landscape-oriented profile may increase saturation, deepen blue skies, and boost local contrast. A portrait profile may reduce contrast and shift colors toward softer skin tones.
Picture Profile vs. Picture Profile Video Modes
Some cameras use “Picture Profile” specifically for advanced video settings such as log gamma curves or cinema color modes. These are designed primarily for grading video footage and can make still images look flat, washed out, or awkward if used without a deliberate workflow.
For still photography, use your camera’s regular photo-oriented profiles unless you understand the consequences of advanced log or gamma settings.
How Picture Profiles Affect JPEG and RAW Files
Whether you should use a picture profile for photography largely comes down to your file format.
JPEG: The Profile Becomes Part of the Image
When you shoot JPEG, your camera processes the image and bakes in the selected profile. This means changes to contrast, saturation, sharpening, and color are largely permanent.
You can still edit a JPEG, but you have less latitude than you would with a RAW file. If highlights are clipped because a high-contrast profile pushed bright tones too far, recovering detail may be difficult or impossible.
JPEG shooting works especially well when you need:
- Quick social-media delivery
- Event images with fast turnaround
- Travel photos ready to share
- School, sports, or news coverage
- A finished look straight from the camera
RAW: The Profile Is Usually a Preview
RAW files store far more sensor data and preserve more flexibility for editing. In most cases, your selected picture profile is saved as metadata rather than permanently applied to the RAW image.
Your camera screen, electronic viewfinder, and image preview will display the selected look. Some software can also recognize that profile and use it as a starting point. However, you can generally change it later without degrading the RAW file.
This makes picture profile photography useful even for RAW shooters: it helps you visualize a mood, judge composition, and develop a consistent creative direction.
Why RAW Previews Can Be Misleading
Your camera histogram and highlight warning are often based on the processed preview, not untouched RAW data. A punchy profile can make highlights appear clipped sooner, while a flatter profile may suggest more room than the JPEG rendering actually has.
For critical exposure work:
- Avoid relying solely on a highly contrasty profile.
- Use a neutral or low-contrast preview if possible.
- Learn how much highlight headroom your camera’s RAW files retain.
- Review the RGB histogram, not just brightness histogram, when color clipping matters.
When You Should Use a Picture Profile
A profile is not a shortcut for poor exposure or weak composition. It is a creative tool that can make your work more intentional and efficient.
Use Profiles When You Deliver JPEGs
If JPEGs are part of your final workflow, choosing a profile is essential. It defines the starting character of your image before you ever open editing software.
For example, a wedding photographer delivering same-day slideshow images may use a soft portrait-oriented profile to produce flattering skin tones quickly. A travel photographer may use a vivid profile for bright markets, coastal scenes, and architecture intended for immediate sharing.
The key is consistency. Changing profiles randomly from frame to frame can make a gallery feel visually disconnected.
Use Profiles to Previsualize Your Final Image
Even if you shoot RAW, profiles can help you see the photograph you intend to make.
A monochrome profile, for instance, lets you assess light, shadow, shape, and texture without color distracting you. Many street photographers use this approach while still recording RAW files, allowing them to later choose between black-and-white and color edits.
Similarly, a muted film-inspired profile can help you compose for a quieter editorial mood rather than chasing saturated colors that will not suit the final project.
Use Profiles for Client or Brand Consistency
A repeatable in-camera look can support a recognizable visual style. This is valuable for:
- Real-estate photography
- Restaurant and product photography
- Corporate event coverage
- School portrait sessions
- Social-content production
- Ongoing work for a single brand
Create a custom profile with modest adjustments, test it in multiple lighting conditions, and document the settings. Small, reliable changes are usually more useful than extreme effects.
When You Should Avoid a Picture Profile
Using a profile is optional. There are situations where a neutral setting is safer and more practical.
Avoid Extreme Profiles in Difficult Light
Strong contrast, vivid saturation, or aggressive sharpening can create problems in scenes with mixed lighting or wide brightness ranges.
Consider a sunset portrait: a vivid profile may make the sky impressive on the camera screen, but it can oversaturate skin, block up shadows, and reduce your flexibility if you are shooting JPEG.
For challenging scenes, try a standard or neutral profile, expose carefully, and refine the final image later.
Avoid Over-Sharpening for Important JPEGs
Many cameras apply substantial edge sharpening in their default or enhanced profiles. This can make images look crisp on a small screen, but excessive sharpening often creates:
- Halos around high-contrast edges
- Unnatural skin texture
- Harsh-looking foliage
- Distracting detail in product images
- Less flexibility for later retouching
For portraits, keep sharpening conservative. For landscapes and architecture, use only enough sharpening to support the subject and viewing size.
Avoid “Log” Settings for Casual Still Photography
Log modes are built to preserve tonal information for video color grading. They often require careful exposure, deliberate processing, and sometimes special LUTs or color transforms.
If your camera permits log-style stills, use them only when you have tested the workflow. For most photography, RAW with a neutral profile provides greater flexibility with fewer complications.
Choosing the Best Picture Profile for Your Subject
There is no universal “best” profile. The right choice depends on your subject, available light, file format, and intended use.
Portrait Photography
For portraits, prioritize natural skin tones and manageable contrast.
Look for profiles that offer:
- Moderate or low contrast
- Controlled saturation
- Gentle sharpening
- Warm but believable skin color
- Good highlight retention on faces
A softer profile is especially helpful in bright daylight, where strong contrast can make eye sockets, wrinkles, and skin texture look harsher than intended.
Landscape Photography
Landscapes often benefit from more color and detail, but restraint still matters. A saturated profile may work beautifully in overcast forest scenes or coastal settings, yet look artificial in autumn foliage or intense sunsets.
Try a landscape profile when you want ready-to-use JPEGs, then reduce saturation slightly if greens, blues, or reds become overpowering.
Street and Documentary Photography
Street photography benefits from speed and visual clarity. A standard profile is dependable for color work, while a monochrome profile can help you react to contrast, gestures, and geometry.
A practical approach is to shoot RAW+JPEG with a black-and-white profile. You can review and share the monochrome JPEGs immediately while retaining the color RAW files.
Product and Food Photography
Accuracy matters more than drama in commercial work. Use a neutral or faithful profile, especially when clients expect products, fabrics, cosmetics, or food colors to look true to life.
Set a custom white balance when possible. A great picture profile cannot correct inaccurate white balance, and mixed artificial lighting can quickly distort color.
How to Set Up a Reliable Picture Profile Workflow
The best camera setting is the one you understand and can repeat. Build your workflow around testing rather than relying on menu labels alone.
Start With a Neutral Baseline
Begin with your camera’s Standard, Neutral, Natural, or Faithful profile. Photograph a variety of scenes:
- A portrait in window light
- A bright outdoor scene with clouds
- Green foliage in sunlight
- A colorful indoor subject
- A low-light scene with artificial lighting
Review the results on a calibrated monitor if possible. Notice whether the camera adds too much contrast, saturation, sharpening, or noise reduction.
Customize in Small Steps
Most cameras let you adjust profile parameters. Make changes gradually—one or two increments at a time.
For a versatile everyday JPEG profile, consider:
- Contrast: slightly reduced for highlight protection
- Saturation: standard or slightly reduced for natural color
- Sharpening: moderate, especially for people
- Noise reduction: low to moderate to preserve texture
Keep notes on what you change. If you create multiple custom profiles, name them by purpose, such as “Portrait Soft,” “Travel Color,” or “Product Neutral.”
Use RAW+JPEG for Maximum Flexibility
RAW+JPEG is one of the strongest picture profile photography workflows. The JPEG gives you immediate results with your chosen profile, while the RAW file preserves editing freedom.
This is particularly useful for professionals who need both fast previews and high-quality final delivery. The tradeoff is larger storage requirements, so use sufficiently fast, high-capacity memory cards and a reliable backup process.
Common Picture Profile Mistakes to Avoid
A profile should support your visual intent, not distract from it.
Chasing Saturation Instead of Good Light
Vivid colors can be appealing, but saturation cannot replace good light, clean composition, or accurate exposure. In fact, heavy saturation often reveals color noise, skin imperfections, and white-balance errors more clearly.
Before increasing saturation, ask whether the image would improve more from a different angle, better timing, or softer light.
Ignoring the Effect on Skin Tones
The most common profile mistake in portrait work is selecting settings based on landscapes or camera-screen impact. A profile that makes a blue sky pop may turn skin orange, red, or overly contrasty.
Always test portrait settings with real people in the lighting you commonly use.
Forgetting That Editing Software May Render RAW Files Differently
Your camera may show a pleasing film simulation or picture style, but your editing software might initially open the RAW file with a different color interpretation.
If matching the camera look matters, check whether your software supports camera-matching profiles. Otherwise, build a preset that recreates your preferred contrast, color, and tonal balance.
Frequently Asked Questions
Does a picture profile affect RAW photos?
Usually, no—the original RAW sensor data remains unchanged. The profile typically affects the preview image, embedded JPEG, camera display, and metadata. Editing software may read that metadata, but you can generally select another rendering later.
What is the best picture profile for photography?
There is no single best option. Standard or Neutral is a strong all-purpose choice. Use Portrait for flattering people, Landscape for ready-to-share scenic images, and Monochrome when you want to focus on tones and composition.
Should professional photographers use picture profiles?
Yes, when they support the workflow. Professionals commonly use profiles for consistent previews, efficient JPEG delivery, client work, and creative previsualization. Many also shoot RAW to retain full post-processing control.
Is it better to shoot RAW or JPEG with a picture profile?
Shoot JPEG when speed, simplicity, and immediate delivery matter. Shoot RAW when you need maximum editing latitude. RAW+JPEG is ideal when you want both quick, profile-based images and a flexible master file.
Can I create my own picture profile?
Most cameras allow some customization of contrast, saturation, sharpening, color tone, and noise reduction. Start with a neutral base, make modest changes, test in real conditions, and save profiles for specific uses rather than relying on one extreme setting for everything.
Conclusion
Picture profile photography is worth using when you understand what it changes and match it to your workflow. For JPEG shooters, it is a foundational decision that directly shapes the final image. For RAW shooters, it is a powerful preview and creative-planning tool that can improve consistency without sacrificing flexibility.
Start with a neutral profile, test it in the lighting you actually photograph, and build custom settings slowly. Then use RAW+JPEG when you need both immediate results and editing freedom. Set up one purposeful profile for your next shoot, compare it with your usual settings, and let the results guide your long-term camera workflow.
Advertisement