August 19, 2026 · Updated August 23, 2026 · 11 min read
What Size Photo Should You Use for a LinkedIn Profile?
On this page
- The Ideal LinkedIn Profile Picture Size
- Why a Square Image Works Best on LinkedIn
- File Format, Quality, and Upload Requirements
- How to Crop and Frame Your LinkedIn Headshot
- Choosing the Right Background and Clothing
- Lighting and Editing: Small Changes That Matter
- Uploading and Checking Your LinkedIn Profile Photo
- Common LinkedIn Profile Picture Mistakes to Avoid
- Frequently Asked Questions
- Conclusion
What Size Photo Should You Use for a LinkedIn Profile?
Your LinkedIn photo is often the first detail a recruiter, client, colleague, or prospective partner notices. Before they read your headline or scan your experience, they form an impression from a small circular image beside your name.
That makes the right LinkedIn profile picture size more than a technical detail. A crisp, well-cropped headshot helps you look credible and approachable, while a blurry, awkwardly framed, or outdated photo can distract from an otherwise strong profile. Here is how to choose, prepare, and upload a photo that represents you well.
Key Takeaways
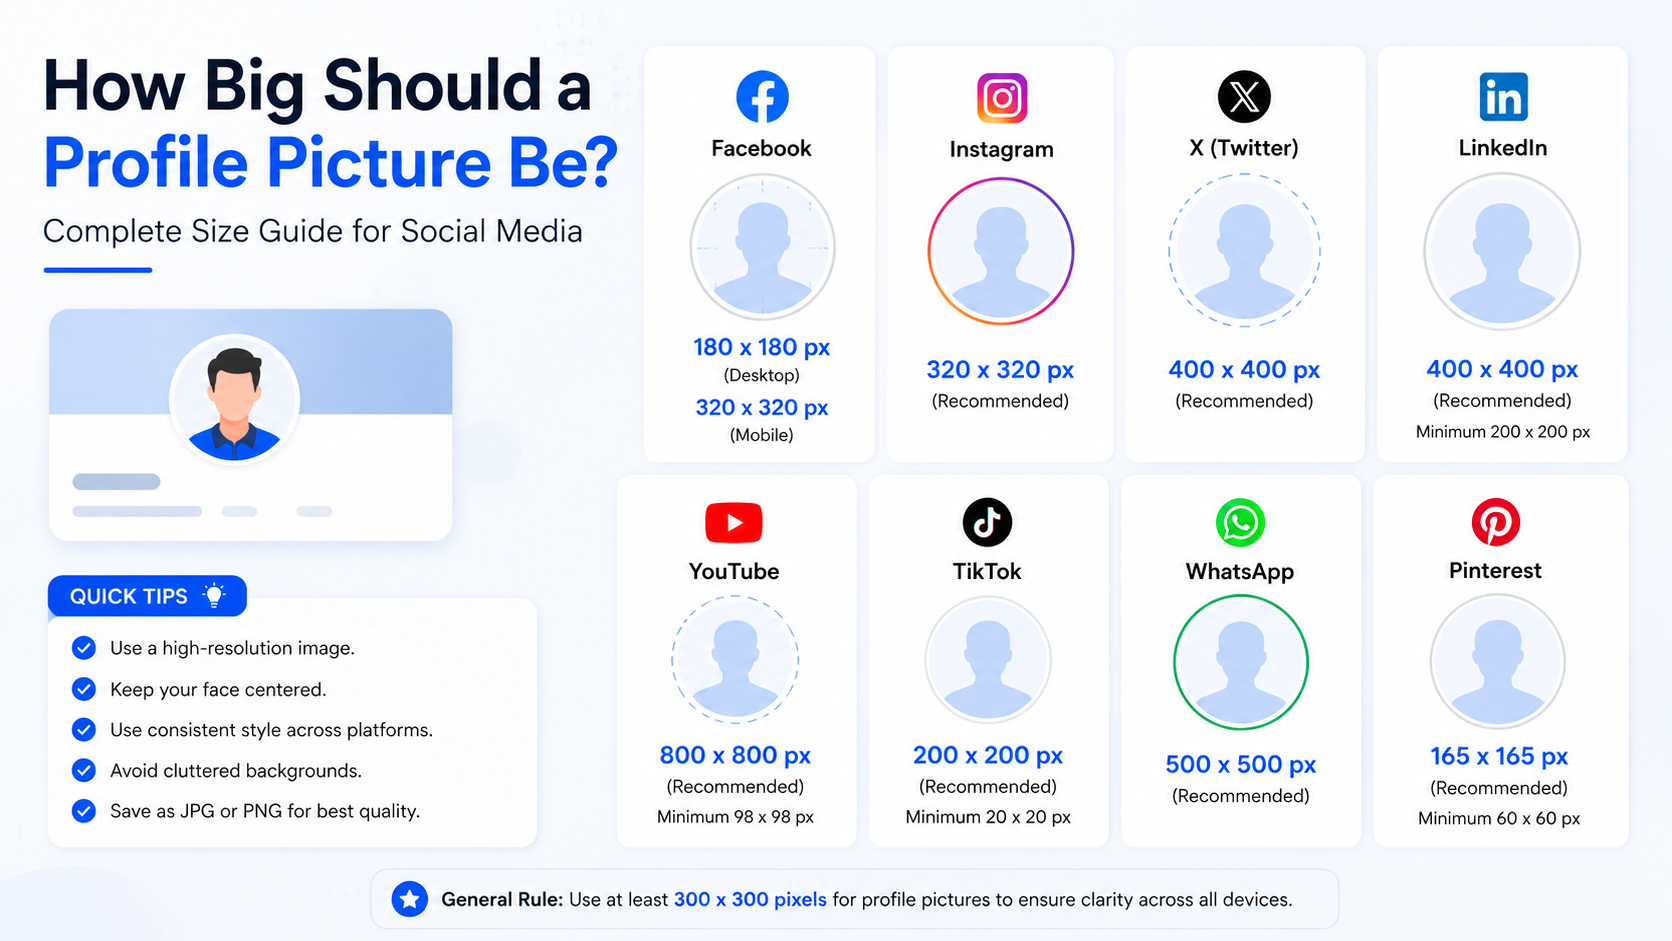
- Use a square image of at least 400 × 400 pixels for a sharp LinkedIn profile photo.
- Upload a JPG or PNG file under LinkedIn’s 8 MB limit.
- Choose a high-resolution square such as 800 × 800 or 1,000 × 1,000 pixels for extra clarity.
- Frame your face centrally because LinkedIn displays the image in a circle.
- Aim for your face and shoulders to fill roughly 60–70% of the frame.
- Review the final crop on both desktop and mobile before considering it finished.
The Ideal LinkedIn Profile Picture Size
Use at least 400 × 400 pixels
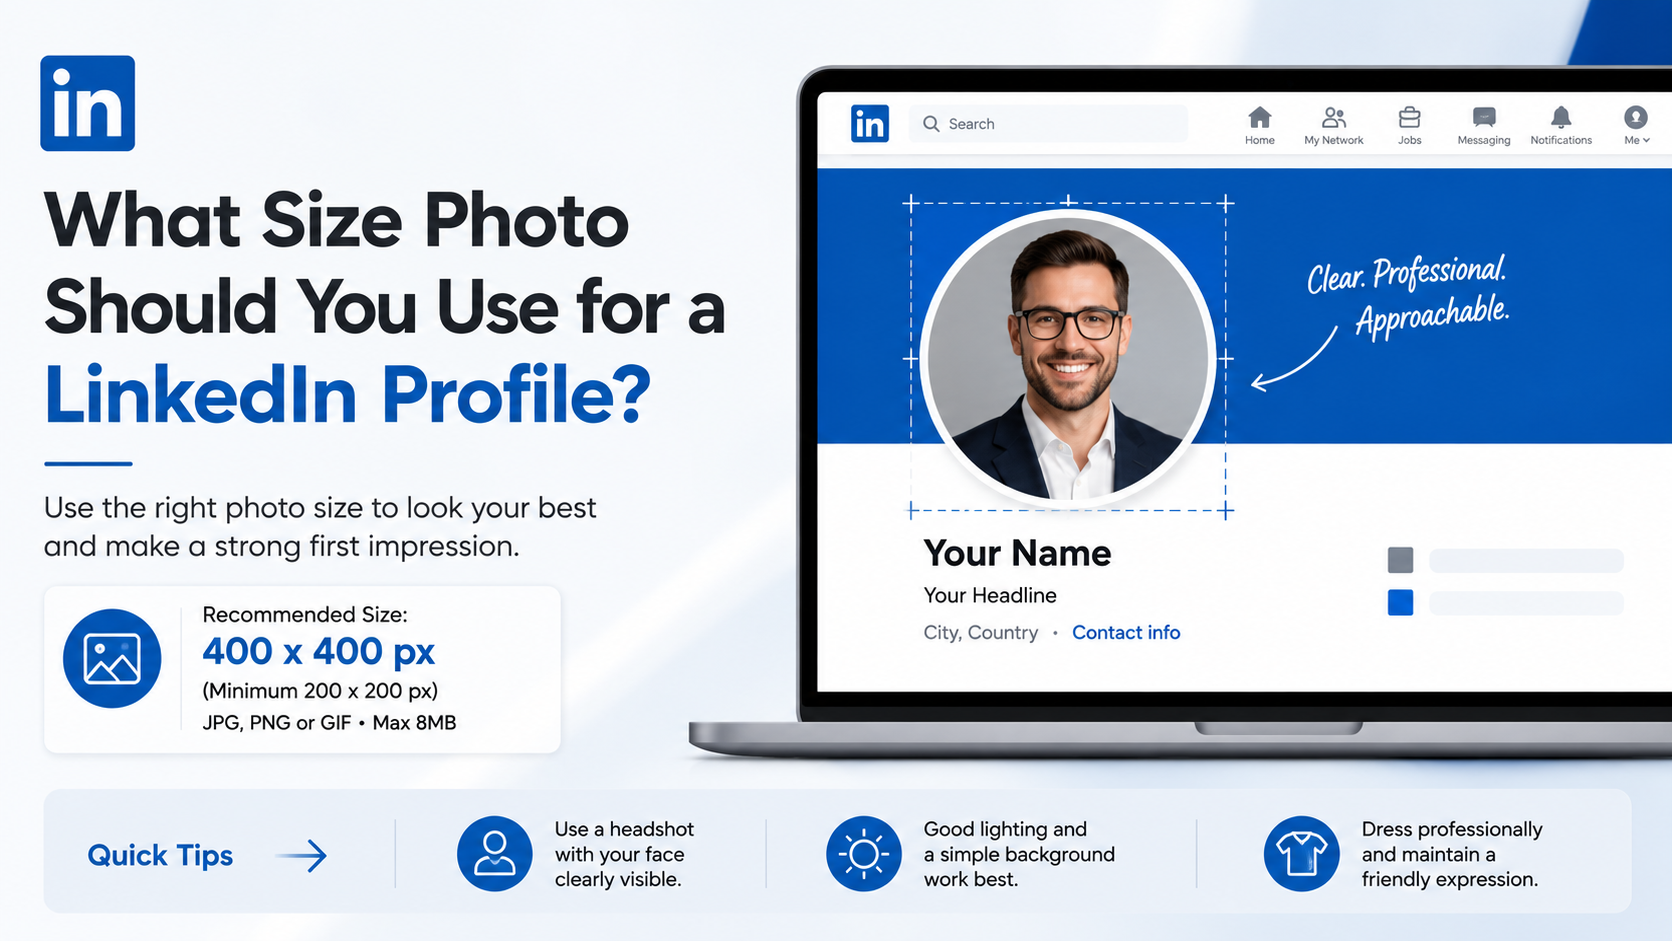
The best practical LinkedIn profile picture size is 400 × 400 pixels or larger in a square, 1:1 aspect ratio. LinkedIn accepts profile photos from 400 × 400 pixels up to 7,680 × 4,320 pixels, but a square image gives you the most control over the visible crop. Files must be JPG or PNG and no larger than 8 MB. LinkedIn’s upload guidance confirms these requirements.
A 400 × 400 image meets LinkedIn’s minimum and works well in most cases. Still, starting with a larger square file is smarter. It gives the platform room to resize your image without making it look soft or pixelated.
Recommended dimensions: 800 × 800 or 1,000 × 1,000 pixels
For the best balance of clarity, file size, and flexibility, export your photo at:
- 800 × 800 pixels for an excellent everyday choice
- 1,000 × 1,000 pixels if you may reuse the image elsewhere
- 400 × 400 pixels only when you need the smallest acceptable version
You do not need an enormous file to make a professional impression. An ultra-high-resolution image can be compressed by LinkedIn anyway. What matters most is beginning with a sharp original and avoiding excessive enlargement of a low-quality photo.
For example, if you crop a phone photo to 1,000 × 1,000 pixels from a clear original, it will usually look better than a 400 × 400 image enlarged from an old, tiny social-media photo.
Why a Square Image Works Best on LinkedIn
LinkedIn displays profile photos as circles
Although you upload a square or rectangular file, LinkedIn presents your profile image in a circular frame across much of the platform. Corners of your uploaded image may disappear, especially in search results, comments, and the mobile app.
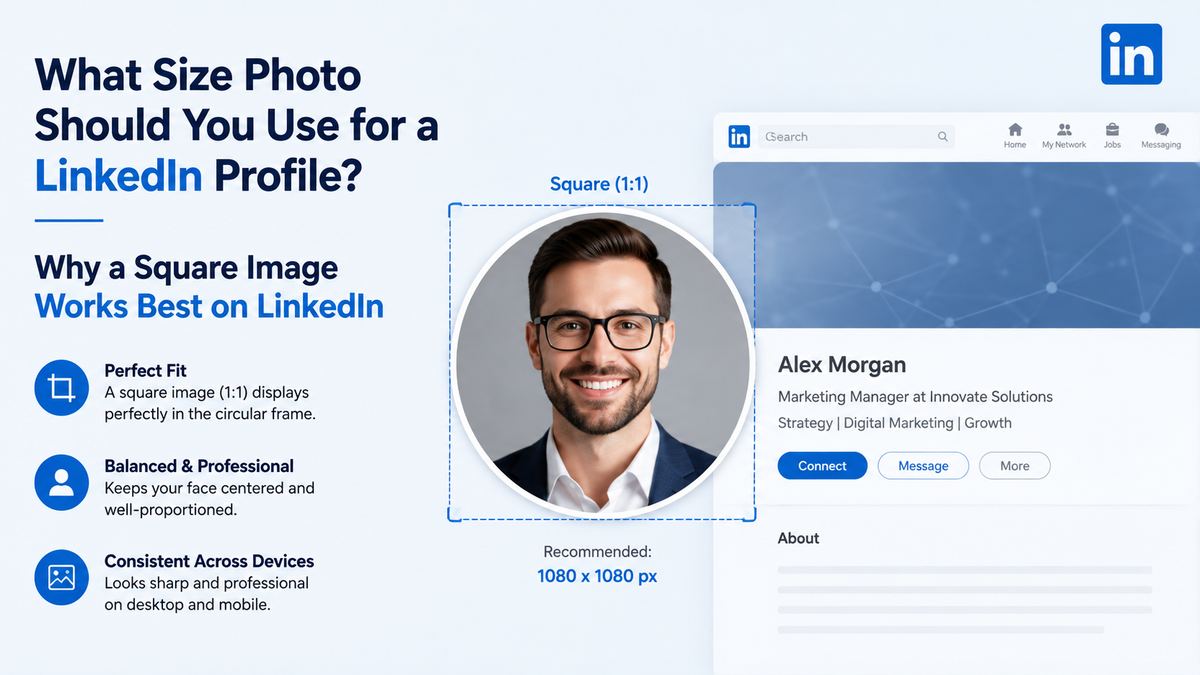
This is why a square image is safest: it keeps the crop predictable. A wide landscape image may technically upload, but it forces you to shrink your face or risk cutting off the top of your head, chin, or shoulders.
Keep important details in the center
Think of the final circle as a “safe zone.” Your eyes, face, and expression should sit well inside it. Avoid placing essential details near the edges, including:
- The top of your hair
- Your chin or shoulders
- Eyeglasses, if the crop is tight
- A company logo or text in the background
- Another person standing beside you
A useful test is to place a circular crop guide over your photo before uploading. If your face remains comfortably visible within the circle, the image will translate well to LinkedIn’s interface.
File Format, Quality, and Upload Requirements
Choose JPG for photos and PNG for specific needs
Both JPG and PNG work on LinkedIn, but each format has a different use case.
- JPG: Best for most headshots. It produces compact files and handles natural skin tones, backgrounds, and photographic detail well.
- PNG: Useful when you need cleaner edges, have a simple graphic treatment, or want to preserve an edited image with text-free visual detail.
For a conventional professional headshot, JPG is usually the simplest choice. Save it at high quality, but avoid creating a file so large that it approaches LinkedIn’s 8 MB cap.
Avoid blur, over-compression, and screenshots
A photo can meet the correct dimensions and still look unprofessional if it is poorly prepared. Common quality problems include:
- Uploading a screenshot instead of the original image
- Enlarging a small image until it becomes fuzzy
- Saving a JPG repeatedly, which can create visible compression artifacts
- Applying intense filters that distort skin tone and contrast
- Using a dark image where facial features disappear at thumbnail size
Before uploading, zoom out. Your image will often be viewed at a small size, so it should remain clear when your face is only a few centimeters wide on screen.
How to Crop and Frame Your LinkedIn Headshot
Use a head-and-shoulders composition
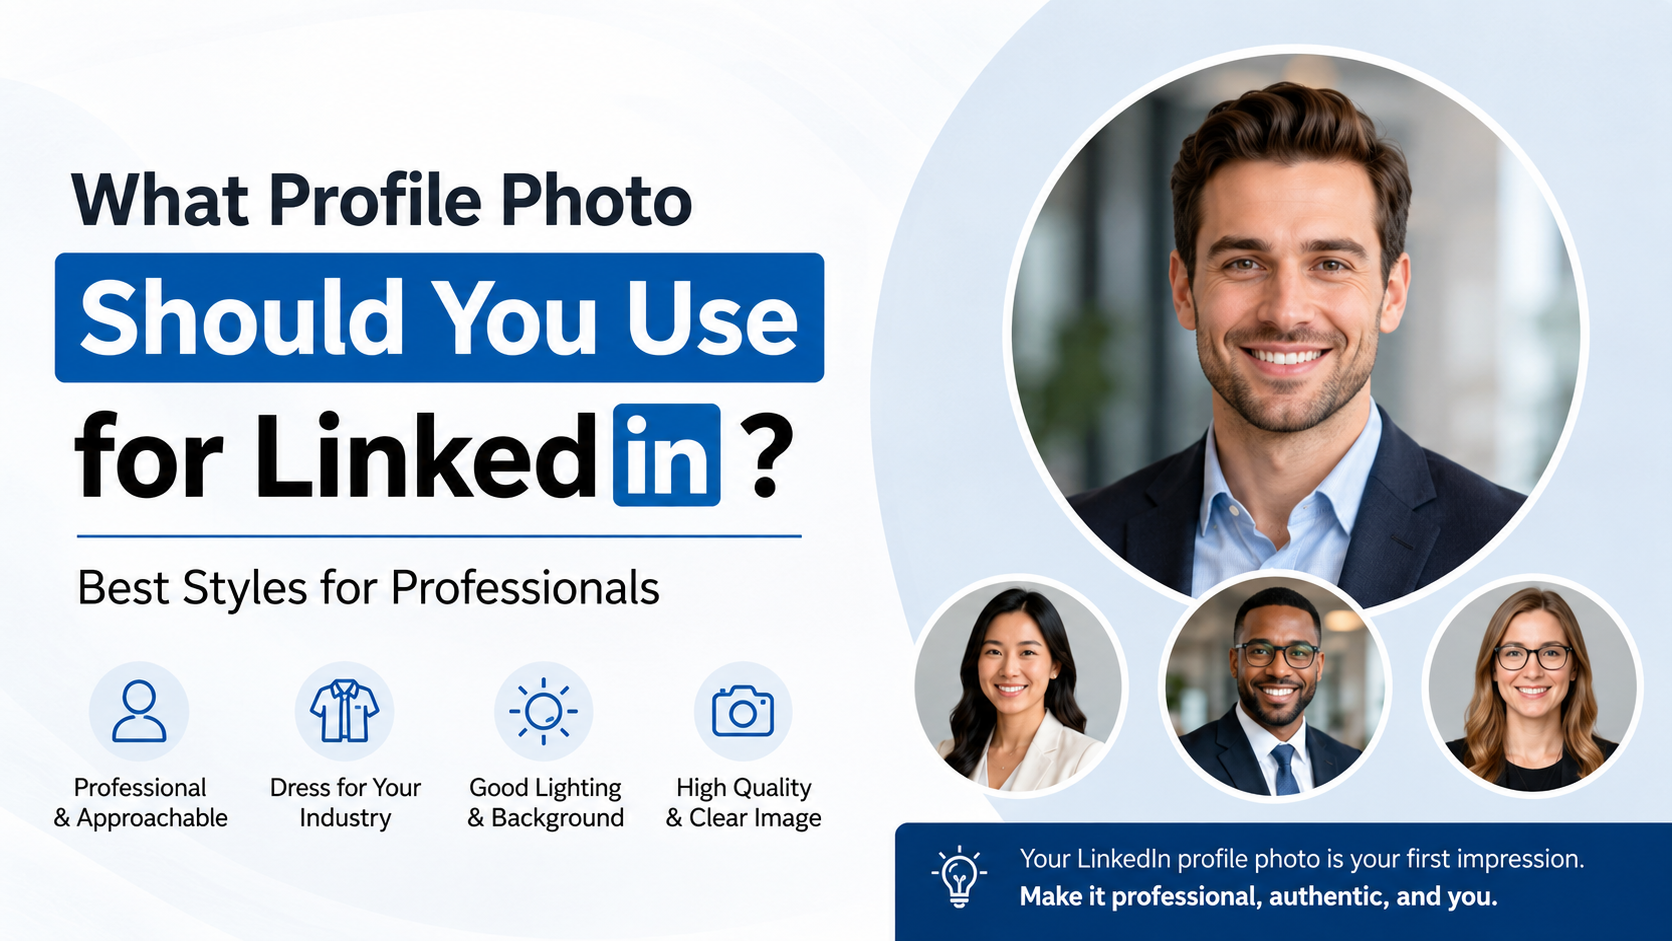
The strongest LinkedIn profile photos are usually simple head-and-shoulders portraits. Position your head near the center, leave a small amount of space above it, and include enough of your shoulders to create a natural composition.
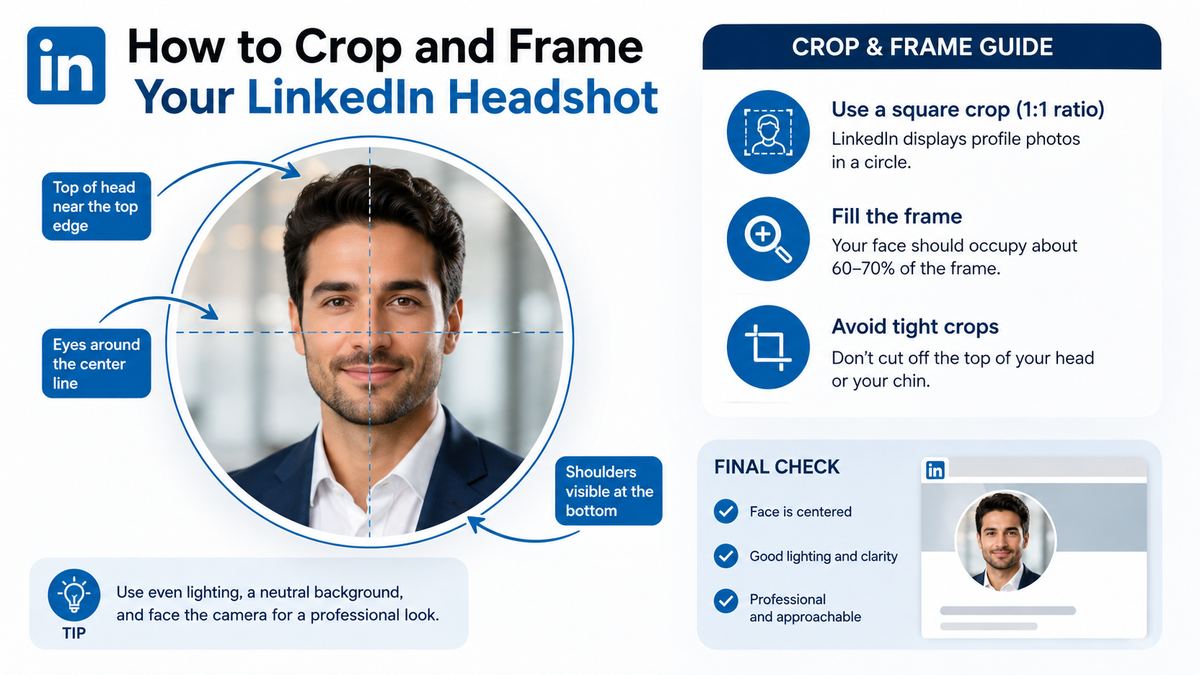
A practical framing guideline is to let your face occupy about 60–70% of the image. This makes you recognizable in small previews without feeling uncomfortably close.
For instance, a consultant using a distant event photo may look polished in full size but become unrecognizable in LinkedIn search. Cropping that same image to a closer head-and-shoulders view will almost always perform better.
Make eye contact with the camera
A forward-facing image with visible eyes creates a more direct and trustworthy impression. You do not need a rigid corporate pose; a relaxed expression and natural smile are often more effective than an overly formal portrait.
Try to avoid:
- Sunglasses or tinted eyewear
- Heavy shadows across your face
- A profile-angle shot where your face is hard to see
- Group photos cropped so another person’s shoulder remains visible
- Photos taken from far below or far above eye level
The goal is not to look staged. It is to make it easy for people to recognize the professional behind the profile.
Choosing the Right Background and Clothing
Keep the background simple and intentional
A plain wall, softly blurred office, outdoor setting with gentle light, or clean workplace environment can all work well. The background should support your image rather than compete with it.
Choose backgrounds that provide contrast. If you wear a dark jacket, a slightly lighter background helps your outline remain visible. If you have light hair or wear a pale shirt, avoid a bright white background that makes the image feel washed out.
A freelancer might use a softly lit studio-style background, while an architect could use a subtle office or project-space setting. Both approaches work when the person remains the clear focal point.
Dress for the professional context you want
Your clothing should reflect your industry, role, and audience—not a generic idea of formality. A lawyer may prefer business attire, while a creative director, engineer, or founder may choose smart casual clothing that better fits their field.
Use these principles:
- Wear something you would reasonably wear to an important meeting.
- Select solid or subtle colors rather than loud patterns.
- Avoid clothing with prominent logos, slogans, or distracting graphics.
- Make sure your outfit contrasts with the background.
- Prioritize looking current and comfortable over looking excessively formal.
Authenticity matters. A polished photo should look like you on a good professional day, not a different person entirely.
Lighting and Editing: Small Changes That Matter
Use soft, even light
Natural window light is one of the easiest ways to improve a LinkedIn photo. Stand facing a window, rather than placing the window directly behind you. This lights your face evenly and minimizes harsh shadows.
If you use artificial lighting, aim for soft illumination from the front or slightly to one side. Avoid strong overhead lighting, which can create dark eye shadows, and bright backlighting, which can turn your face into a silhouette.
Edit lightly and preserve a realistic appearance
Basic editing can enhance an image, but restraint is essential. Adjust exposure, crop, white balance, and contrast if needed. Remove temporary distractions such as a stray mark on the background, but do not alter your appearance so heavily that colleagues would not recognize you.
A useful editing checklist includes:
- Straighten the image.
- Correct overly warm or cool color tones.
- Brighten shadows slightly if your face is too dark.
- Crop for the circular display area.
- Sharpen gently only when necessary.
LinkedIn permits illustrations and artistic renderings, but your profile image must still reflect your likeness. It also prohibits profile images made solely of logos, text, landscapes, animals, flags, or someone else’s likeness. LinkedIn’s profile-photo guidelines explain these restrictions.
Uploading and Checking Your LinkedIn Profile Photo
Upload from your profile’s introduction section
To update your photo, open your LinkedIn profile and select the profile-photo or camera icon in the introduction section. LinkedIn lets you upload an image, adjust the crop and position, resize it, rotate it, and manage visibility settings.
Take advantage of the built-in crop tool, but do not rely on it to rescue a weak original. Preparing the square crop before upload gives you more predictable results.
Check your photo in real context
After saving, view your profile as a visitor would. Then check how your image appears in several places:
- Your profile header
- Search results
- Connection invitations
- Comments on posts
- The LinkedIn mobile app
If the image seems too distant, dim, or tightly cropped in any of these views, revise it. LinkedIn notes that members with a profile photo can receive up to twice as many profile views and three times as many connection requests, making this small update worth the effort. LinkedIn’s visibility guidance provides the supporting details.
Common LinkedIn Profile Picture Mistakes to Avoid
Using a photo that is too old
An outdated image can create an awkward disconnect when you meet someone on a video call or in person. Update your profile photo when your appearance has meaningfully changed, or every few years if the existing image no longer feels representative.
Treating LinkedIn like a casual social account
Vacation pictures, heavily filtered selfies, party photos, and cropped group shots may be perfectly fine elsewhere. On LinkedIn, they can make your professional brand feel less focused.
That does not mean your photo needs to be stiff. It simply needs to be clear, current, and appropriate for the opportunities you want to attract.
Forgetting visibility settings
A great photo has limited value if your intended audience cannot see it. LinkedIn lets you decide whether your image is visible to first-degree connections, your network, all LinkedIn members, or anyone. Review these settings alongside your broader privacy preferences.
Frequently Asked Questions
What is the best LinkedIn profile picture size?
The best LinkedIn profile picture size is a square image of 800 × 800 pixels or 1,000 × 1,000 pixels. LinkedIn’s minimum is 400 × 400 pixels, but a larger high-quality square image gives you sharper results and more room to crop.
Can I use a rectangular photo for LinkedIn?
Yes, but it is not ideal. LinkedIn will let you crop and reposition many rectangular images, yet it displays the finished picture in a circular frame. Starting with a square image helps you avoid losing important parts of your headshot.
Should my LinkedIn profile picture be a selfie?
A well-lit, high-quality selfie can work, particularly for students, independent professionals, or job seekers without access to a photographer. However, use a timer or tripod if possible, choose a clean background, and avoid the close, distorted look that comes from holding a phone too near your face.
Is a professional photographer necessary?
No. A clear smartphone photo taken in flattering light can be highly effective. A professional photographer can be valuable if you need multiple brand images, work in a client-facing field, or want a more refined result, but good composition and lighting matter more than an expensive shoot.
Can I use my company logo as my LinkedIn profile picture?
No. Your personal LinkedIn profile picture should represent you, not a brand. LinkedIn’s guidelines may remove images consisting solely of company logos, words, symbols, or other non-personal visuals. Use your logo for a LinkedIn Page instead.
Conclusion
The right LinkedIn profile picture size starts with a simple formula: upload a sharp, square JPG or PNG that is at least 400 × 400 pixels, ideally 800 × 800 pixels or larger. Then focus on what viewers actually notice—your clear face, natural expression, professional context, and clean circular crop.
Take five minutes to review your current image at small size on desktop and mobile. If it is blurry, distant, outdated, or poorly framed, replace it with a current head-and-shoulders photo that makes it easy for the right people to recognize and trust you.