August 19, 2026 · 13 min read
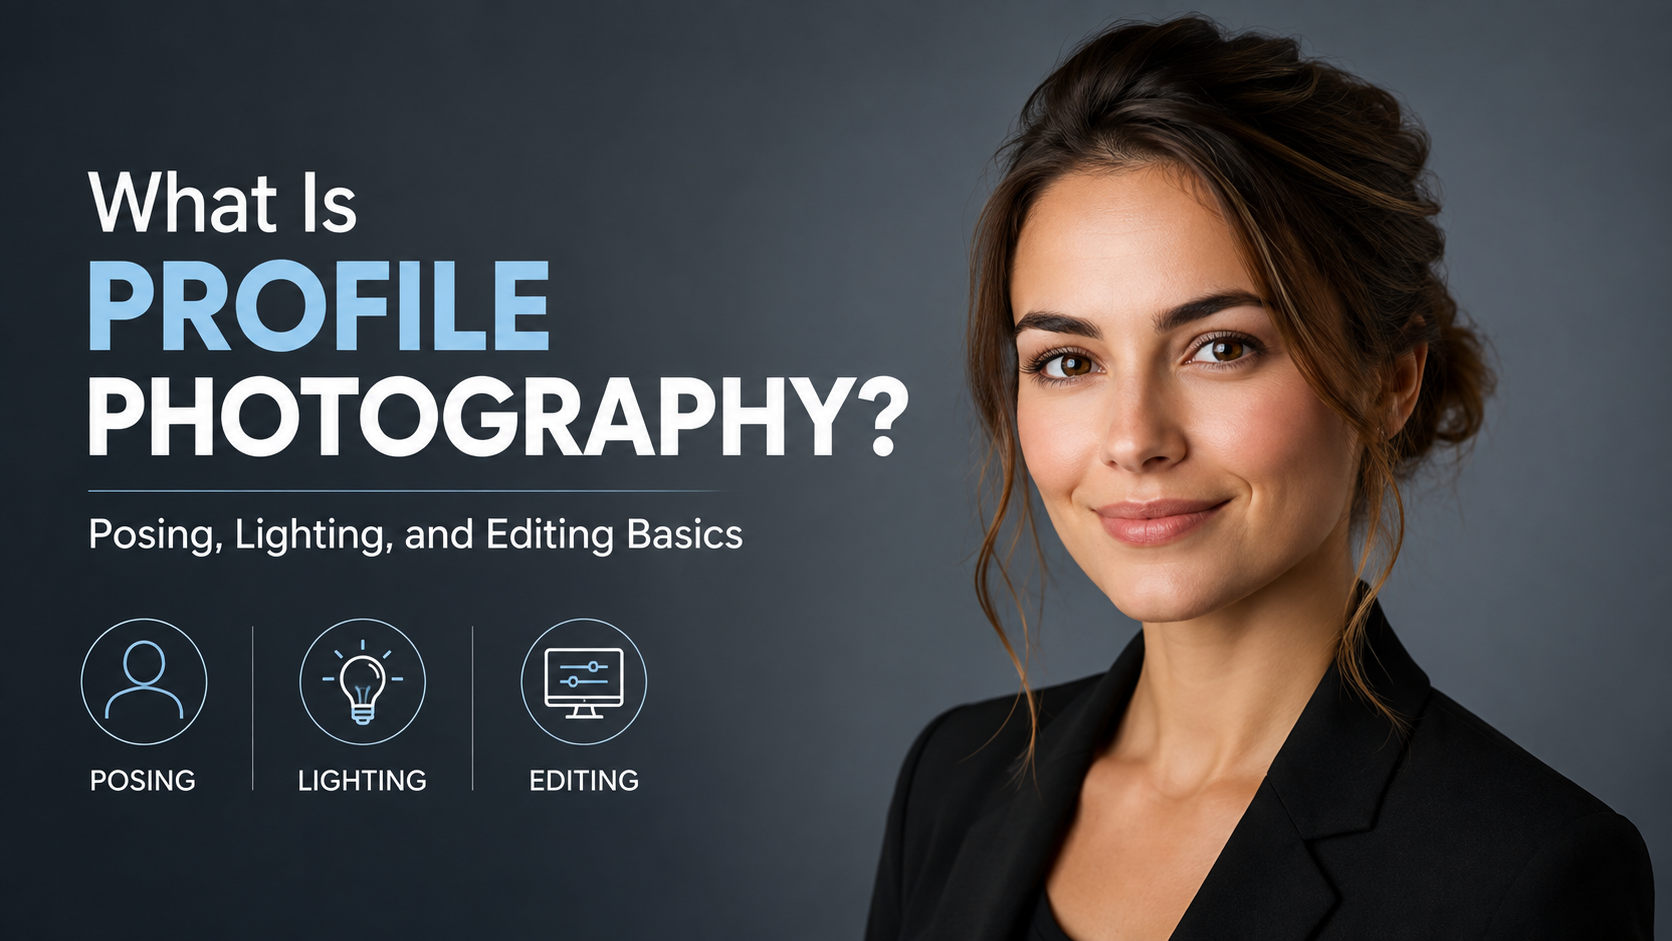
What Is Profile Photography? Posing, Lighting, and Editing Basics
On this page
- What Is Profile Photography?
- Define the Goal Before Planning the Shoot
- Prepare Wardrobe, Grooming, and the Background
- Master Flattering Lighting for Profile Photography
- Guide Natural, Confident Poses
- Select the Right Camera Settings and Composition
- Edit Profile Photos Naturally and Consistently
- Common Profile Photography Mistakes to Avoid
- Frequently Asked Questions
- Conclusion
What Is Profile Photography? Posing, Lighting, and Editing Basics
Profile photography is the art of creating a portrait that represents a person clearly, professionally, and authentically. It may be used on LinkedIn, company websites, speaker pages, dating apps, social media profiles, portfolios, and business listings.
A strong profile photo does more than show what someone looks like. It communicates confidence, approachability, credibility, and personality within seconds. Whether you are a photographer building a client workflow or someone preparing for a new headshot, understanding the foundations of profile photography can make the result feel intentional instead of accidental.
Key Takeaways
- Choose a background, wardrobe, and expression that support the profile’s purpose.
- Use soft, directional light to flatter facial features and create dimension.
- Guide poses through small adjustments to the shoulders, chin, hands, and posture.
- Keep editing natural so the final image still looks like the subject in real life.
- Crop and export each profile photograph for the platform where it will appear.
- Prioritize connection and comfort; relaxed subjects consistently photograph better.
What Is Profile Photography?
Profile photography is a focused form of portrait photography designed to represent an individual in a specific context. Unlike a casual snapshot, it is planned around how the image will be viewed and what it needs to communicate.
For example, a corporate executive may need a polished LinkedIn headshot that conveys leadership and trust. A creative professional may prefer an environmental portrait in a studio, workshop, or city setting to show personality and craft. A dating profile photo may benefit from a more relaxed, lifestyle-oriented approach that feels warm and genuine.
Profile Photography vs. Traditional Headshots
The terms are often used interchangeably, but they are not always identical.
A traditional headshot usually focuses tightly on the face and shoulders, often against a simple background. It is common for business directories, employee pages, actors, and professional networks.
Profile photography is broader. It can include:
- Tight headshots for professional profiles
- Half-body portraits for websites and social platforms
- Lifestyle portraits in natural environments
- Branded portraits that include workspaces, tools, or products
- Casual but polished images for personal profiles
The intended use should shape every creative decision, from the lens choice to the final crop.
Why Profile Images Matter
People often form an impression before reading a bio, résumé, or caption. A clear, well-made profile image can make a page feel more credible and inviting.
A professional consultant, for instance, may lose potential inquiries if their website uses a dim, outdated, or overly casual photo. Conversely, a current portrait with natural expression and clean lighting helps visitors feel they are dealing with a real, capable person.
Define the Goal Before Planning the Shoot
Successful profile photography starts with a conversation about purpose. Without one, photographers may create technically attractive images that do not fit the platform or audience.
Identify Where the Photo Will Be Used
Ask where the image will appear before selecting a location or composition. Common destinations include:
- LinkedIn and professional networking platforms
- Company websites and employee directories
- Personal websites and author biographies
- Social media profiles
- Dating platforms
- Press releases, podcasts, and speaking engagements
A LinkedIn image should usually be clean and easy to recognize at a small size. A portfolio homepage can support a wider crop and more visual storytelling. A speaker profile may need extra negative space for event organizers to add text beside the portrait.
Match the Style to the Subject’s Brand
Profile photography should feel aligned with the subject’s work, personality, and audience.
A financial advisor may choose neutral colors, controlled lighting, and a simple office or studio background. A chef could be photographed in a kitchen with warm light and subtle environmental details. A designer might prefer a contemporary workspace or textured urban setting.
The goal is not to force everyone into the same “professional” look. It is to create an image that feels believable and appropriate.
Prepare Wardrobe, Grooming, and the Background
Preparation reduces distractions and gives the subject more confidence in front of the camera. Small details that go unnoticed in person can become prominent in a close portrait.
Choose Clothing That Supports the Face
The face should remain the center of attention. Solid colors, subtle textures, and well-fitting garments usually work best.
Consider these wardrobe guidelines:
- Choose colors that complement skin tone and the chosen background.
- Avoid large logos, busy patterns, and highly reflective fabrics.
- Bring a few options, such as a jacket, blouse, overshirt, or accessory.
- Select clothing that fits comfortably when sitting and standing.
- Use layers to create variety without requiring a full outfit change.
For a corporate profile photograph, a navy blazer or structured top often reads well without looking overly formal. For a more creative profile, textured knitwear or a muted patterned shirt can add personality while remaining visually controlled.
Keep Grooming Natural and Camera-Ready
Good grooming is not about changing a person’s appearance. It is about preventing temporary distractions from pulling attention away from their expression.
Before the shoot, check for:
- Wrinkled clothing and crooked collars
- Loose hairs or flyaways
- Shine on the forehead, nose, or cheeks
- Smudged glasses or fingerprints on lenses
- Lip dryness, lint, or visible product residue
A small amount of translucent powder, blotting paper, or a clean cloth can make a meaningful difference under studio lights.
Simplify the Background
The background should support the subject rather than compete with them. Plain walls, subtle textures, outdoor shade, and softly blurred environments are all useful options.
If photographing in a busy office or public place, position the subject far enough from the background to create separation. A wider aperture can then soften distracting details while retaining context.
Master Flattering Lighting for Profile Photography
Lighting is one of the most important elements of profile photography because it shapes facial features, skin texture, mood, and depth. Great lighting does not need to be complicated, but it should be intentional.
Start With Soft, Directional Light
Soft light is generally the most flattering choice for profile portraits. It reduces harsh shadows and creates a smooth transition across the face.
A large window, softbox, umbrella, or diffused LED panel can all produce soft light. Position the light slightly above eye level and off to one side of the subject. This creates shape without making the portrait look severe.
For example, place someone about 45 degrees to a large window, with the window light falling across the front and side of their face. Turn their body slightly toward the light, then adjust their face until both eyes remain bright and visible.
Use Light Direction to Create Mood
Different lighting patterns create different impressions.
- Front lighting: Clean, direct, and approachable; useful for simple professional headshots.
- Loop lighting: A small shadow falls beside the nose; versatile and flattering for many faces.
- Rembrandt lighting: More dramatic, with a triangle of light on the shadowed cheek; useful for creative or editorial portraits.
- Broad lighting: The wider side of the face is lit; can work well for narrow faces.
- Short lighting: The narrower side of the face is lit; often adds contour and depth.
For most business profile photography, loop lighting offers an excellent balance of polish and friendliness.
Control Natural Light Carefully
Outdoor portraits can look beautiful, but direct midday sun often causes squinting, deep shadows, and uneven skin tones. Look for open shade, such as the edge of a building, a covered walkway, or the shadow of a large tree.
If the background is very bright, expose for the face and use a reflector or subtle fill flash to prevent the subject from becoming too dark. The eyes should remain the visual anchor of the image.
Guide Natural, Confident Poses
Many people say they are “not photogenic” when they simply have not received clear direction. Profile photography is less about finding one perfect pose and more about making small, thoughtful adjustments.
Build a Strong Starting Position
Begin with a relaxed standing or seated posture. Ask the subject to shift their weight onto one leg, turn their shoulders slightly away from the camera, and bring their face back toward the lens.
This avoids the flat, rigid look that can happen when someone stands squarely toward the camera.
A simple starting formula is:
- Turn the body 30 to 45 degrees from the camera.
- Keep the shoulders relaxed and down.
- Shift weight to the back foot or one hip.
- Bring the chin slightly forward and gently down.
- Keep the eyes connected to the camera.
The “chin forward and down” adjustment is especially useful because it defines the jawline without making the subject look like they are looking up.
Create Natural Expressions
A forced smile is easy to spot. Rather than repeatedly asking someone to “smile,” create a moment that produces a genuine expression.
Try prompts such as:
- “Take a breath, then let your shoulders relax.”
- “Think of someone you enjoy talking with.”
- “Give me a small smile first, then let it grow.”
- “Look just beside the lens for a moment, then back at me.”
For professionals who want to appear confident but not overly casual, a subtle smile with relaxed eyes often works better than a broad grin in every frame.
Include Hands Only When They Add Value
Hands can add movement and personality in half-body or environmental profile portraits, but awkward hand placement can distract from the face.
Useful options include holding a jacket lapel, lightly folding arms, resting one hand on a desk, or placing a hand loosely in a pocket. Keep fingers relaxed and avoid pressing the hands flat against the body.

Select the Right Camera Settings and Composition
Technical choices should make the subject look natural and recognizable, not merely create a dramatic effect.
Use a Flattering Focal Length
For close profile portraits, lenses in the 50mm to 105mm range on a full-frame camera are common choices. Around 85mm is often favored because it creates a pleasing perspective while allowing comfortable working distance.
Very wide lenses used too close to the subject can distort facial features, making the nose or forehead appear larger than they are. If using a phone, avoid shooting extremely close with the widest lens.
Keep the Eyes Sharp
The eyes are usually the most important point of focus in profile photography. Use single-point autofocus or eye-detection autofocus, and ensure the nearest eye is sharp.
For an individual portrait, a moderately wide aperture such as f/2.8 to f/4 can blur the background while keeping most of the face in focus. If the subject is turned significantly to the side, stop down slightly to preserve both eyes.
Compose for Platform Crops
A profile image may be displayed as a circle, square, vertical rectangle, or horizontal banner. Leave enough room around the head and shoulders so important details are not cut off later.
For a LinkedIn-style crop, frame from around mid-chest upward and leave some space above the head. For a website banner, position the subject on one side and leave intentional negative space for text or design elements.
Edit Profile Photos Naturally and Consistently
Editing should enhance clarity and polish without making the subject look unfamiliar. The best profile photo retouching is often invisible.
Begin With Global Adjustments
Start with the overall image before retouching small details. Correct exposure, white balance, contrast, and color first.
A practical editing sequence is:
- Correct white balance for natural skin tones.
- Adjust exposure and contrast.
- Recover overly bright highlights or deep shadows.
- Crop and straighten for the intended platform.
- Apply subtle color grading only if it supports the brand.
Keep skin tones realistic. Heavy orange warmth, strong teal-and-orange grading, or extreme desaturation can make professional portraits feel dated or artificial.
Retouch With Restraint
Retouch temporary distractions while respecting the person’s real features. Remove short-term blemishes, stray hairs, lint, and minor shine. Be cautious about permanently altering freckles, scars, facial lines, body shape, or other defining characteristics unless the subject specifically requests it.
Avoid excessive skin smoothing. Texture is normal, and completely blurred skin can look plastic, especially on high-resolution displays.
Export for Each Destination
A high-resolution master file is useful, but each platform benefits from a tailored export.
For example:
- Save a full-resolution JPEG for print or future use.
- Export a square crop for social platforms.
- Create a vertical version for LinkedIn or company profiles.
- Produce a web-optimized file that loads quickly without appearing soft.
Review the photo at the size it will actually be viewed. A beautiful full-screen image may need a tighter crop or brighter exposure to work well as a small profile icon.
Common Profile Photography Mistakes to Avoid
Even technically capable photographers can weaken a profile image by overlooking the basics.
Overcomplicating the Scene
Too many props, colors, and background details can make a portrait feel unfocused. If the setting does not reinforce the subject’s story, simplify it.
A software developer photographed at a desk may need only a clean monitor, natural posture, and soft background blur—not a frame filled with cables, sticky notes, and competing screens.
Using Harsh or Uneven Light
Direct flash, strong overhead lights, and unmodified sunlight can create unflattering shadows. Soften the light, change the subject’s position, or use a reflector to balance the exposure.
Editing Beyond Recognition
A profile photo should build trust. Excessive filters, aggressive reshaping, and unrealistic retouching can do the opposite when the person meets colleagues, clients, or dates in real life.
Frequently Asked Questions
How often should I update my profile photo?
Most professionals should update their profile photograph every one to three years, or sooner after a major change in appearance, role, or personal brand. The image should still look like you when meeting someone in person.
What should I wear for a professional profile photo?
Wear clean, well-fitting clothing that reflects your industry and feels comfortable. Solid colors and subtle textures are usually safest. Choose an outfit slightly more polished than what you would wear on a typical workday if the photo will appear on a business website or professional network.
Is natural light good enough for profile photography?
Yes. A large window or open shade can produce excellent results when the light is soft and directional. The key is to avoid harsh direct sunlight and make sure the subject’s eyes are bright and clearly visible.
Should I smile in a profile photo?
Usually, yes—but the intensity of the smile should suit the purpose. A warm, natural smile often makes a person seem approachable. For executive, editorial, or creative profiles, a relaxed neutral expression can also work well if it still feels engaged.
Can I use a phone for profile photography?
Modern phones can create strong profile images when used well. Use portrait mode carefully, shoot in soft natural light, clean the lens, and avoid overly wide angles at close range. A tripod and timer, or help from another person, will usually produce a more polished result than a selfie.
Conclusion
Profile photography combines purpose, preparation, lighting, posing, composition, and careful editing to create an image that feels both polished and real. The best portraits do not rely on dramatic effects; they make the subject look confident, approachable, and recognizable.
Start by defining where the image will be used, then choose lighting and styling that support that goal. Guide poses with subtle adjustments, keep the expression natural, and edit with restraint. Whether you are refreshing a LinkedIn image, photographing a team, or building a personal brand, use these basics to create a profile photo that makes a strong first impression.
Advertisement