August 19, 2026 · 12 min read
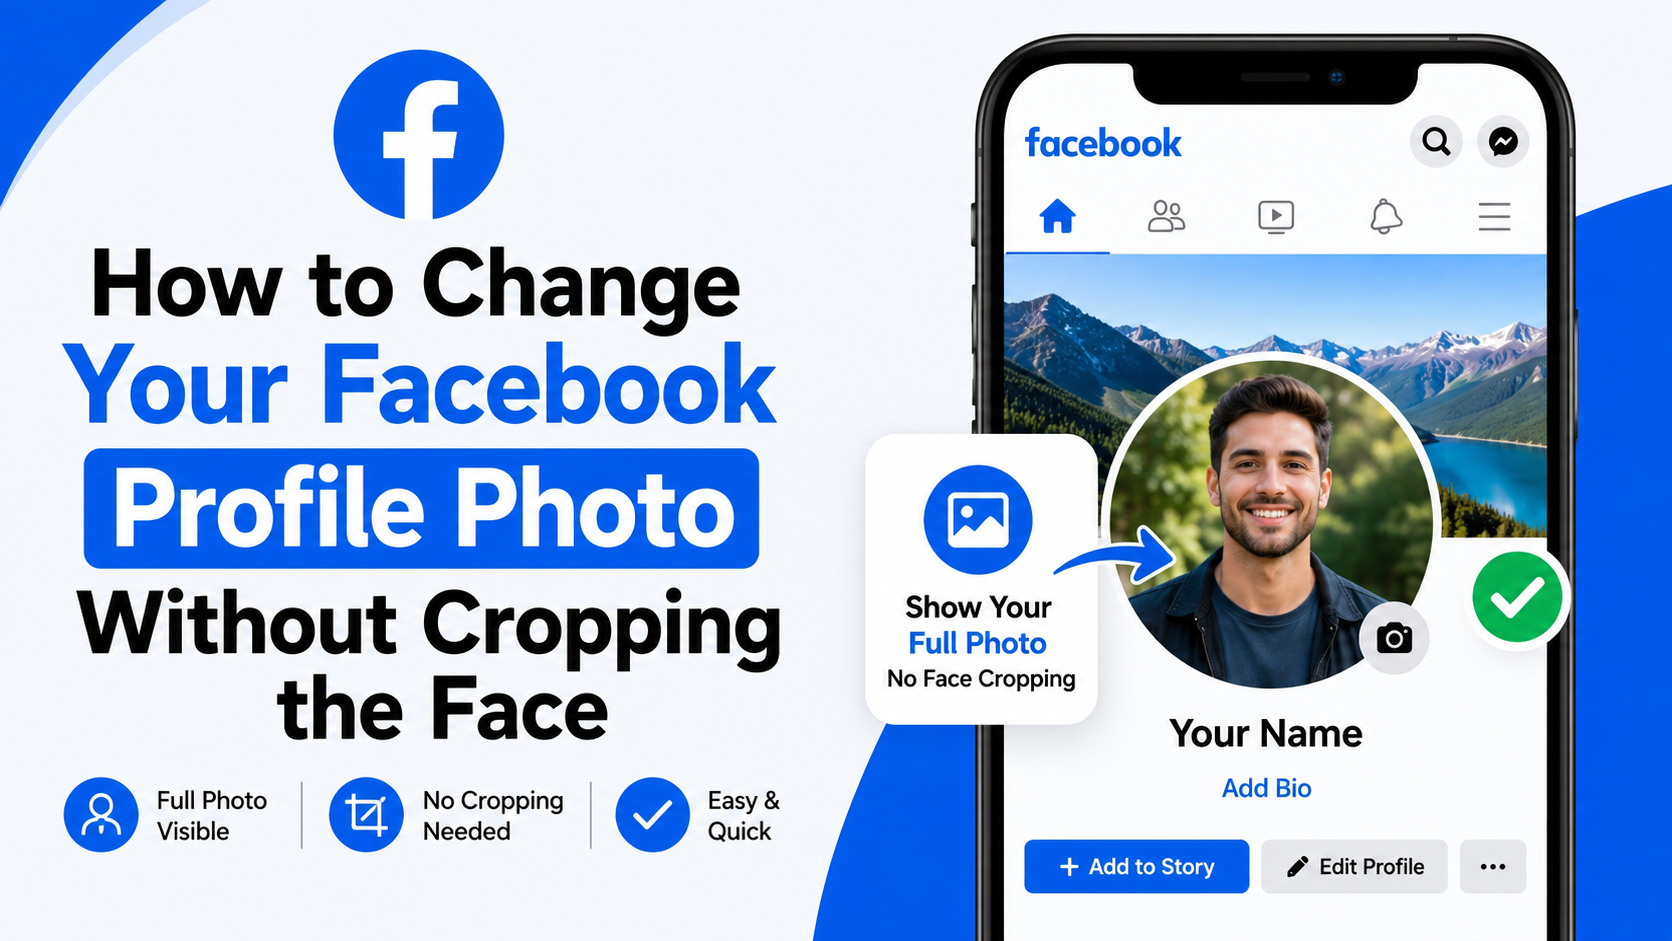
How to Change Your Facebook Profile Photo Without Cropping the Face
On this page
- Understand Why Facebook Crops Profile Photos
- Prepare the Photo Before You Upload It
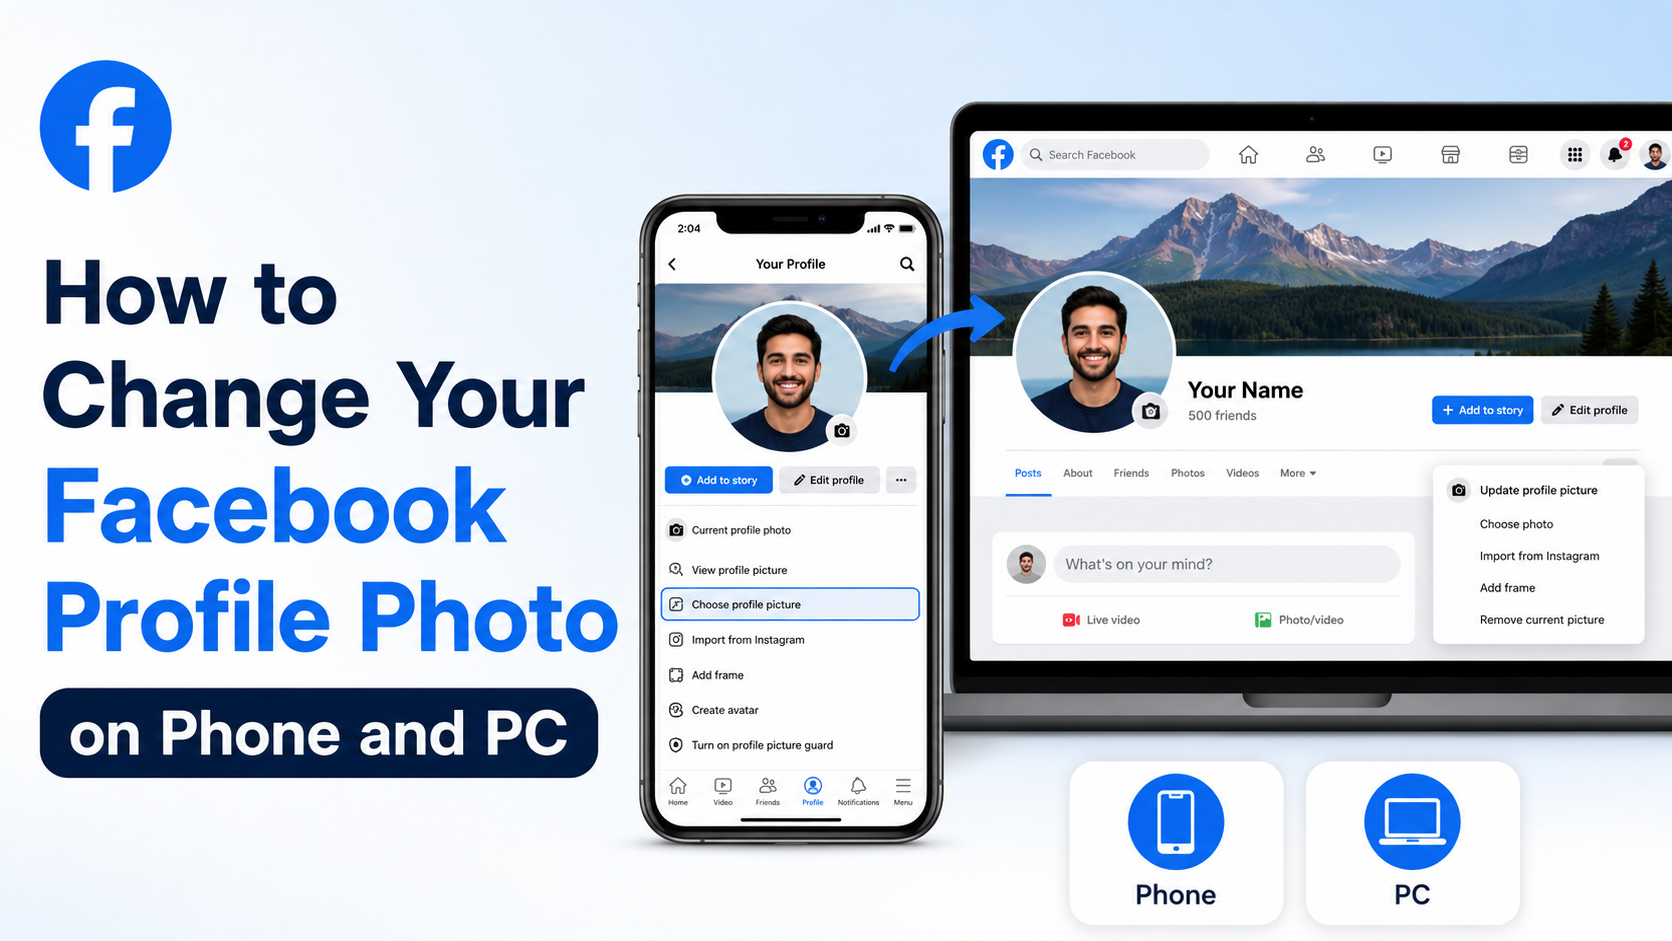
- How to Change Profile Photo Facebook on Desktop
- How to Change Your Profile Photo on the Facebook Mobile App
- Use the Safe-Zone Method for Better Face Positioning
- Fix a Profile Picture That Is Already Cropped Badly
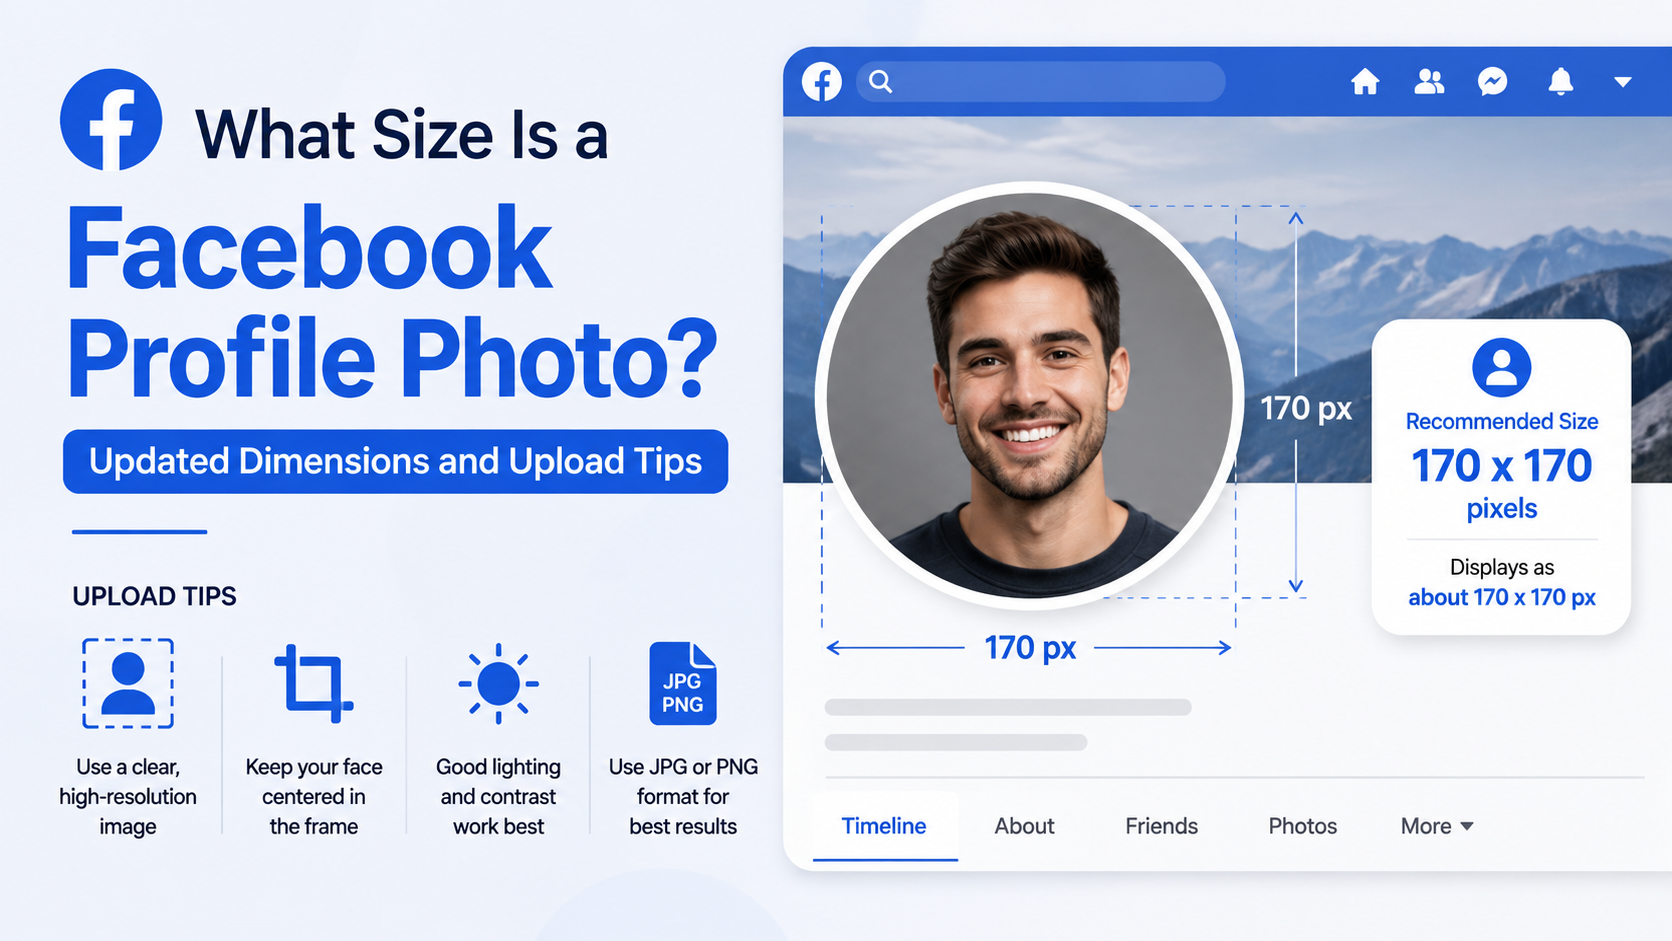
- Choose the Right File Format, Size, and Quality
- Privacy and Professional Considerations
- Frequently Asked Questions
- Conclusion
How to Change Your Facebook Profile Photo Without Cropping the Face
A Facebook profile photo is often the first visual cue people associate with you or your business. Yet a great headshot can look awkward after upload when the circular display cuts into your hair, chin, shoulders, or—worst of all—your face.
The key is understanding that Facebook does not display profile photos as a full rectangular image. It uses a circular preview in many places, including comments, search results, and the feed. You cannot remove that circular format, but you can prepare and position your image so your face remains fully visible and looks intentional.
This guide explains how to change profile photo Facebook settings without losing important parts of your image, whether you are using a phone or desktop computer.
Key Takeaways
- Use a square image with extra empty space around your head before uploading.
- Keep your face centered and away from the edges of the image.
- Upload an image at least 320 × 320 pixels for clear results.
- Use Facebook’s repositioning and thumbnail controls before saving.
- Check the image at small sizes, not just the large profile preview.
- Remember that your current Facebook profile picture is public.
Understand Why Facebook Crops Profile Photos
Facebook may accept photos in several shapes, but profile pictures are commonly displayed inside a circle. A horizontal or tightly framed portrait can therefore lose important content around its outer edges.
The circle is the real “safe area”
Imagine a circle drawn inside a square. The corners of that square are outside the visible circle. Any face, logo, text, or important background detail placed too close to those corners may be hidden.
For a personal photo, the safest approach is to keep:
- Your entire face inside the central area
- Your forehead, chin, and hairline away from the outer edge
- A little space around your shoulders
- Important details away from the four corners
For example, a close-up photo that looks excellent in a rectangular camera preview may crop the top of your hair when Facebook turns it into a circle. A slightly zoomed-out version will usually look much better.
Facebook also creates a small thumbnail
Your profile photo appears in multiple sizes. The large version on your profile matters, but the tiny image beside comments, messages, and posts matters too. At thumbnail size, a face that fills the frame too aggressively can look cramped, while a face positioned too low may be difficult to recognize.
Facebook allows you to edit the thumbnail separately in some views, including scaling and repositioning it. That is useful when the full photo looks correct but the small version does not.
Prepare the Photo Before You Upload It
The best way to avoid an unwanted face crop is to prepare the image before it reaches Facebook. Do not rely solely on the in-app crop tool.
Start with a square canvas
Create a square version of your photo before uploading. A 1:1 image gives you more control because it aligns naturally with Facebook’s profile-photo format.
Good starting sizes include:
- 320 × 320 pixels for the minimum practical quality
- 800 × 800 pixels for a sharp, flexible upload
- 1,080 × 1,080 pixels if you want a high-resolution working file
Facebook’s Help Center recommends using a profile image at least 320 pixels wide and 320 pixels tall for best quality.
Add breathing room around your face
If your original photo is tightly cropped, expand the background rather than stretching your face or accepting an awkward crop. Most basic photo editors let you place your portrait on a larger square background.
For instance, if you have a vertical headshot where your hair nearly touches the top edge:
- Create a square canvas.
- Place the original portrait in the center.
- Reduce its size slightly.
- Fill the extra surrounding space with a neutral color, blurred background, or extended version of the original backdrop.
This technique gives Facebook room to apply its circular display without cutting off your face.
Choose a background that supports the image
A clean background makes your photo easier to recognize at small sizes. Solid colors, softly blurred scenes, or uncluttered office backgrounds work particularly well.
Avoid:
- Busy backgrounds that compete with your face
- Fine text near the edges
- High-contrast objects directly behind your head
- Very dark clothing against a very dark background
For professionals, a simple background also makes the image more reusable across LinkedIn, Teams, email profiles, and company directories.
How to Change Profile Photo Facebook on Desktop
Facebook’s exact labels can vary slightly by layout and account type, but the workflow is straightforward.
Upload a new photo from your profile
To change profile photo Facebook on a desktop browser:
- Open Facebook and select your profile picture in the upper-right area.
- Select your name to open your profile.
- Click the camera icon or edit option on your current profile picture.
- Choose an existing photo or select the option to upload a new photo.
- Select your prepared square image.
- Use the on-screen preview to reposition or resize the image if needed.
- Save your changes.
Facebook also supports updating profile images through Accounts Center. In general, you can navigate through Settings & privacy, Settings, Accounts Center, Profiles, then select Profile picture and upload a new image.
Reposition before you save
When the upload editor opens, do not save immediately. Check whether the visible circle includes:
- Your complete face
- Space above your head
- Enough of your shoulders to create a natural composition
- No accidental crop through your chin, forehead, or cheeks
If the editor lets you drag the photo, move the image rather than zooming in further. Zooming out is usually safer because it reveals more of the original photo.
Review the profile page after publishing
Once the picture is live, return to your profile and view it at its normal display size. Then look for one of your recent comments or posts to see the thumbnail version.
If the small thumbnail looks too tight, use Facebook’s profile-picture editing controls to adjust the thumbnail scale and position where available.
How to Change Your Profile Photo on the Facebook Mobile App
The mobile app is convenient, especially when the photo is already saved on your phone. The principle is the same: upload a square image with enough safe space around the subject.
Change the image from the app
On the Facebook app:
- Tap your profile picture or menu area.
- Open your profile.
- Tap your current profile image.
- Choose the option to select or upload a new profile picture.
- Choose the prepared photo from your device.
- Adjust the image in the preview screen.
- Tap Save or the confirmation button.
Depending on the app version, you may also see choices to add a frame, use an existing Facebook photo, or take a new photo.
Avoid the common mobile pinch-to-zoom mistake
A frequent issue occurs when users pinch outward to make their face appear larger in the preview. The large preview may look flattering, but the circular display can then remove your forehead, hair, or chin.
Instead:
- Begin slightly zoomed out.
- Center your eyes around the upper-middle portion of the circle.
- Leave visible space above your hair.
- Check that your chin is not touching the lower edge.
A face should be recognizable, not crammed into the circle.
Use the Safe-Zone Method for Better Face Positioning
A reliable profile photo is not just centered; it is composed for the circle. The safe-zone method makes this simple.
Keep the face in the central 60–70% of the square
Before uploading, picture a smaller square in the middle of your image. Your full face should fit comfortably within that central zone. The outer border of the image should mainly contain background, hair, shoulders, or other nonessential visual space.
A practical rule is to leave approximately 10–15% padding around the top and sides of your head. This is especially helpful if you have curly hair, wear a hat, or are using a photo with a strong pose.
Position the eyes for visibility
Eyes are the strongest recognition point in a small profile picture. Position them slightly above the vertical center of the image rather than too low.
For a standard professional headshot:
- Keep the eyes in the upper-middle area.
- Center the face horizontally.
- Leave more background than you initially think you need.
- Use an upright, front-facing pose when possible.
For example, a speaker, consultant, or job seeker can use a shoulder-up headshot with a neutral backdrop and their face centered within the inner circle. The result will remain legible even at comment-thumbnail size.
Fix a Profile Picture That Is Already Cropped Badly
If Facebook has already cropped your face in an unflattering way, the fastest fix is usually to replace the source image with a better-prepared version.
Edit the original image outside Facebook
Download or locate the original, then use a photo editor to add space around it. You can use a desktop editor, a phone gallery app, or a browser-based design tool.
Your goal is not to enlarge the image. It is to create a square frame with room around your face.
Try this workflow:
- Open the original photo.
- Set the canvas to a square ratio.
- Reduce the portrait slightly if necessary.
- Add or extend the background around it.
- Export a high-quality JPG or PNG.
- Upload the new square version as your Facebook profile picture.
Consider a different source photo
Sometimes the original image is simply too close or too narrow to fix naturally. In that case, choose a different photo with more visible space around your head and shoulders.
A good Facebook profile photo should prioritize recognition over dramatic composition. A beautiful full-body travel photo may be meaningful, but it is rarely as effective as a clear portrait when reduced to a tiny circle.
Use a frame with care
Facebook may offer profile frames, but frames reduce the usable space around your face. If you use one, make your face slightly smaller within the original image to compensate.
This is particularly important for campaign frames, event frames, or branded frames that add thick graphics around the edge.
Choose the Right File Format, Size, and Quality
Cropping is the biggest concern, but image quality matters too. A blurry profile image can undermine an otherwise excellent presentation.
Use a high-resolution source file
Start with the largest, clearest version available. A well-lit image with a sharp face will hold up better after Facebook compresses it.
For most people, an 800 × 800 or 1,080 × 1,080 square image is a practical choice. Avoid taking a tiny thumbnail, enlarging it, and uploading it again; enlargement cannot restore missing detail.
JPG versus PNG
JPG is generally ideal for photographs because it keeps file sizes manageable. PNG can work well if your image contains a logo, text, crisp graphics, or transparency before export.
For a personal headshot, use:
- JPG for a normal photograph
- PNG for a logo, illustration, or photo with sharp text elements
Check brightness before uploading
Facebook’s interface and many mobile screens can make dark photos look even darker. Before publishing, make sure the face is easy to see.
A quick quality check:
- Are the eyes visible?
- Is the image sharp at a small size?
- Does the background distract from the face?
- Is the face fully inside the circular preview?
- Would someone recognize you in a comment thread?
Privacy and Professional Considerations
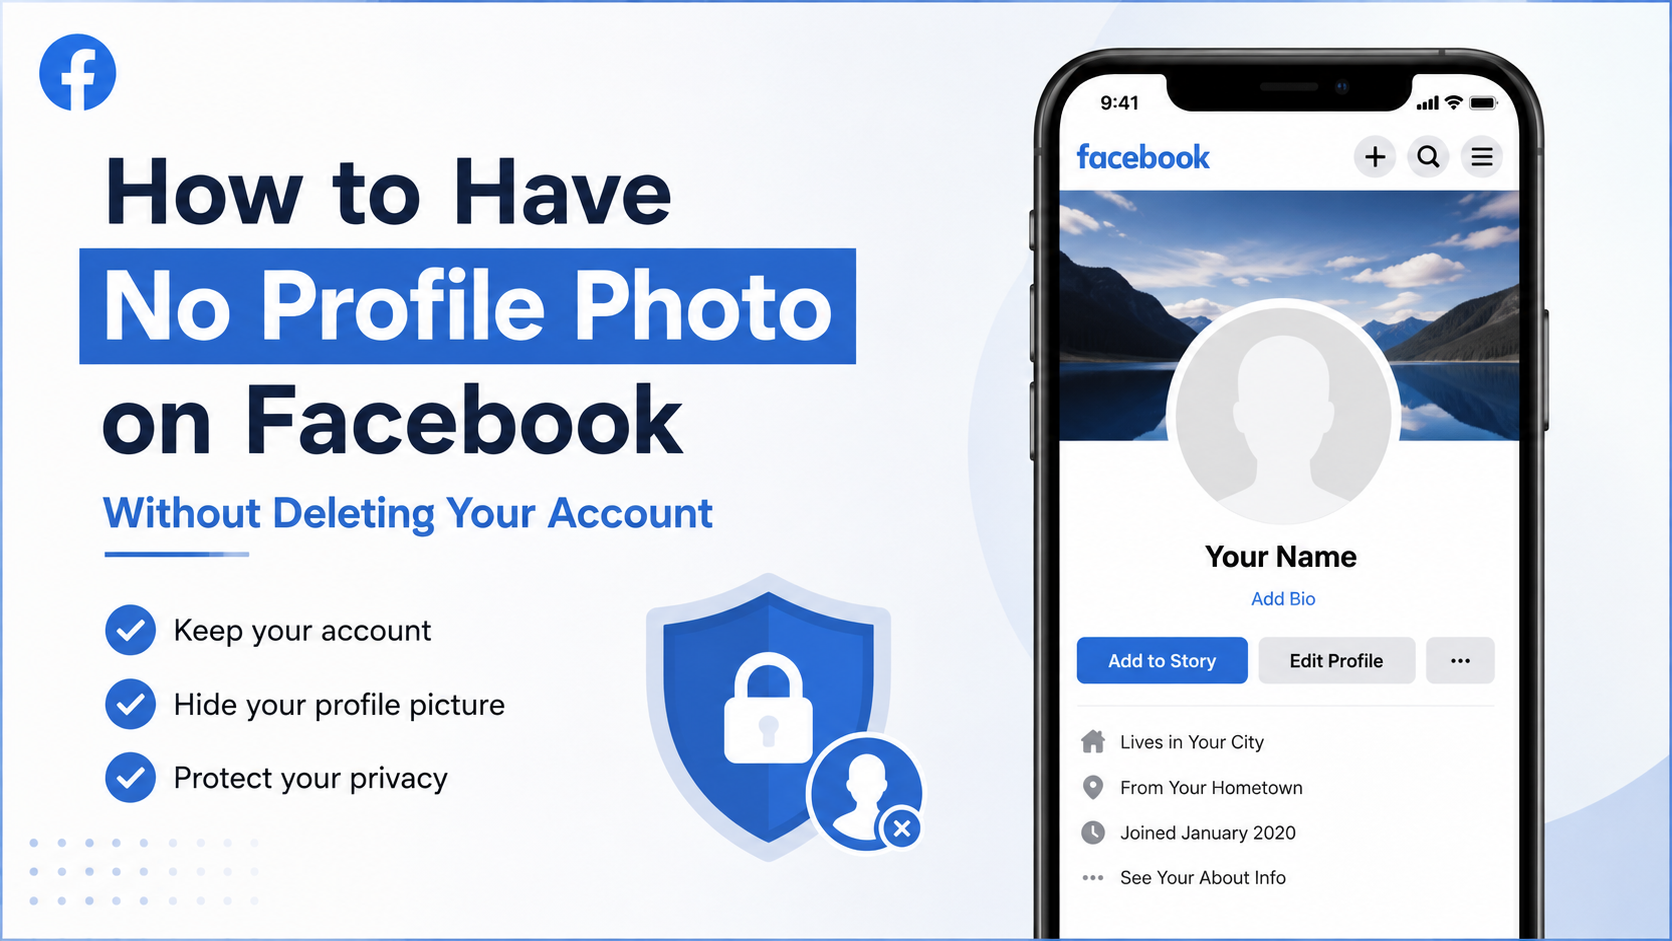
Changing a profile photo is a public-facing update. Facebook states that your current profile picture is public, meaning it can be visible to people on or off Facebook.
Think about what the image communicates
For personal use, choose a photo that feels like you. For professional use, consider the context in which clients, recruiters, colleagues, or potential partners may see it.
A strong professional profile photo generally includes:
- Clear facial visibility
- Natural lighting
- A calm, uncluttered background
- Appropriate clothing for your field
- A current likeness rather than an outdated image
You do not need an expensive studio shoot. A well-lit smartphone portrait near a window can work extremely well if it is composed with the circular crop in mind.
Manage the post audience when appropriate
Although your current profile picture remains public, Facebook may also create a profile update post when you change it. Review the audience options for that post if you prefer not to broadcast the update widely.
You can also review older profile images in your Profile Pictures album and adjust eligible past-photo privacy settings as needed.
Frequently Asked Questions
Can I completely stop Facebook from cropping my profile photo?
No. Facebook commonly displays profile photos as circles, so some outer areas of a square image will not appear in the circular view. However, you can prevent your face from being cut off by uploading a square image with extra background space around your head.
What size should I use for a Facebook profile photo?
Use a square image at least 320 × 320 pixels. For more flexibility and clarity, upload an 800 × 800 or 1,080 × 1,080 image. The most important factor is not the exact size but keeping your face comfortably inside the central safe area.
Why does my Facebook profile picture look fine on my profile but bad in comments?
Facebook uses a much smaller thumbnail beside comments and posts. A photo that works at large size may look overly zoomed, low, or poorly centered when reduced. Check your image in a comment or post and adjust the thumbnail position or upload a version with more padding.
Can I use a rectangular photo without cropping?
You can upload a rectangular photo, but Facebook will need to fit it into the profile-picture display. This can result in cropping or an awkward composition. Preparing a square version yourself gives you much more control and is the better option.
Can people see my Facebook profile picture if my account is private?
Your current profile picture is public. Even if other parts of your profile have limited visibility, people may still see your name and current profile photo. Choose an image you are comfortable making publicly visible.
Conclusion
To change profile photo Facebook without cropping your face, prepare the image before you upload it. Use a square canvas, leave extra space around your head, keep your face inside the central safe zone, and inspect both the large profile view and the small thumbnail.
A few minutes of preparation can turn an awkwardly cropped upload into a clear, polished image that works across Facebook. Update your photo today with a square, well-spaced portrait—and check it in a comment thread before considering the job done.
Advertisement